
Connect to Ricoh Printers in VU
Instructions on how to set up Ricoh Printer
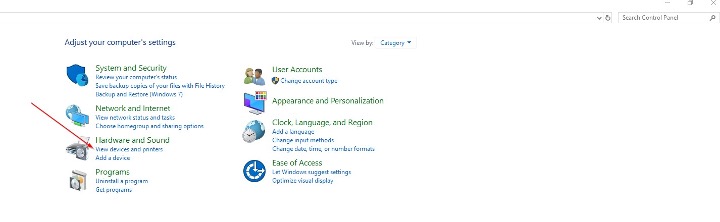
1. Click on the start button in the bottom left corner of the screen
2. Search for the Control Panel by typing in “Control Panel”
3. Select “View Devices and Printers” under “Hardware and Sound”
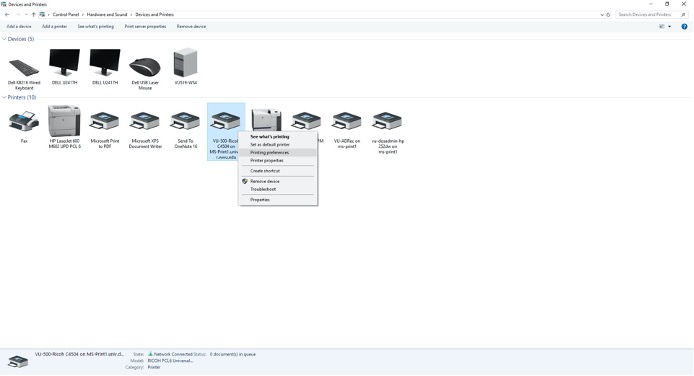
4. Right click the “VU-500-Ricoh C4504”
5. Go to “Printing Preferences” (3rd down from list)
6. Click on “Job Type” and change it to “Hold Print”.
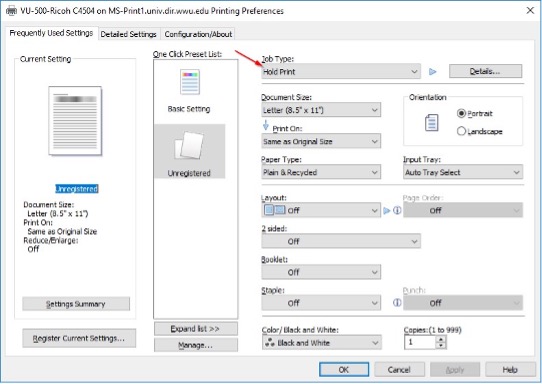
7. Click on “Details” to the right and enter the first name, last initial of the person using the account (no spaces, no punctuation). Enter “OK”
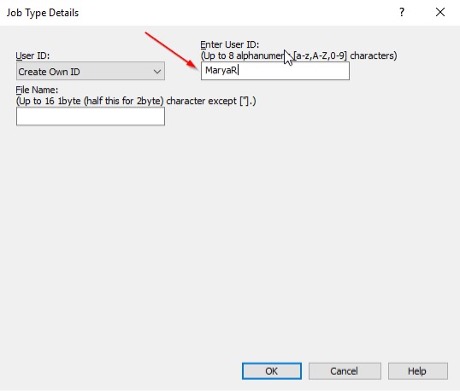
8. Click “Detailed Settings”, “Job Setup”. Change the “Job Type” to “Hold Print” Click on “Details” to the right and enter the first name, last initial of the person using the account (no spaces, no punctuation). Under the User Code (ex. Print Code is 1465 for all AS and VU offices) 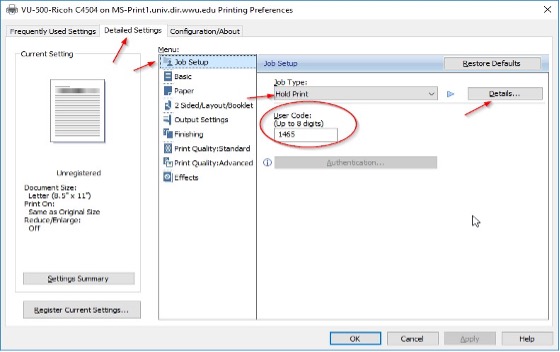
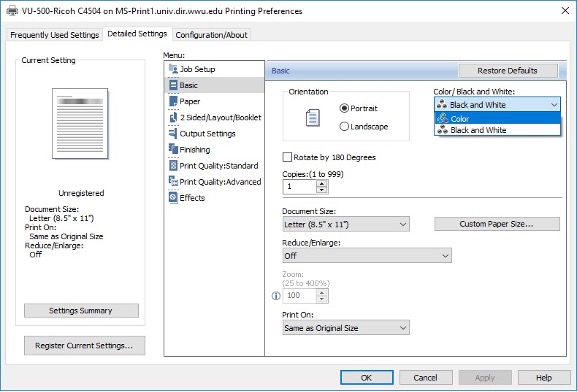
9. Click on “Basic”, underneath “Job Setup” and change to the color that you need
10. Press Apply, then OK to save the settings as the default for that printer.